- February 25, 2024
Step-by-Step: How to Properly Install a PTZ Camera for Maximum Coverage
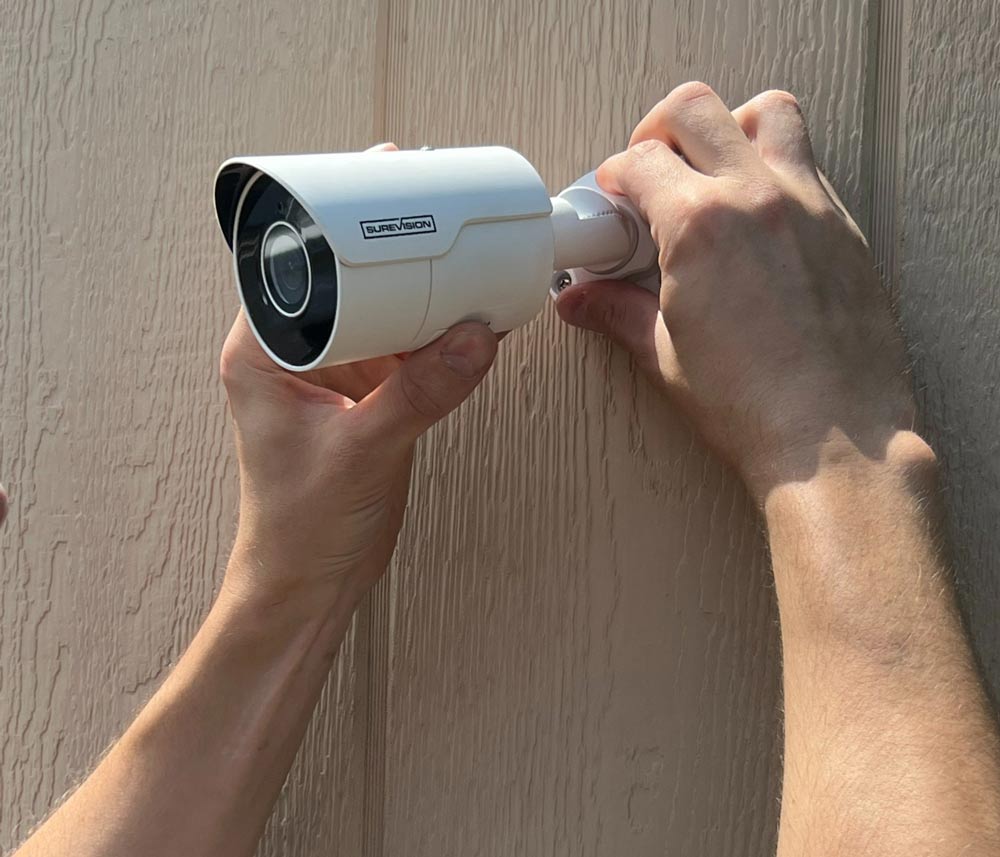
Image Source – Google
Installing a PTZ camera for maximum coverage requires careful planning and execution to ensure you get the best results. PTZ cameras are popular for their ability to pan, tilt, and zoom, allowing you to monitor a larger area with just one camera. Follow these step-by-step instructions to properly install a PTZ camera and take full advantage of its capabilities.
The first step in installing a PTZ camera is to choose the right location. Make sure to select a spot that offers a wide field of view and clear visibility of the area you want to monitor. Avoid obstructions such as trees or buildings that could block the camera's view. It's also important to consider factors such as lighting conditions and potential glare that could affect the camera's performance.
Once you have chosen the location, the next step is to mount the camera securely. Use a sturdy mounting bracket that can support the weight of the camera and withstand various weather conditions. Make sure the camera is positioned at the correct angle to capture the desired area and adjust the tilt and pan as needed.
After mounting the camera, the next step is to connect it to a power source. Most PTZ cameras require a power adapter to operate, so make sure to have the necessary cables and outlets nearby. It's important to follow the manufacturer's instructions for wiring to ensure the camera functions properly.
Once the camera is connected to power, the next step is to connect it to a network for remote access. Many PTZ cameras offer the ability to connect to a Wi-Fi network, allowing you to monitor the camera feed from a computer or mobile device. Follow the manufacturer's instructions for setting up the network connection and configuring the camera's settings.
After the camera is connected to the network, the next step is to configure the camera's settings for optimal performance. This includes adjusting the resolution, frame rate, and other image settings to ensure clear and detailed footage. You may also need to set up motion detection and other features to customize the camera's behavior.
Once the camera is properly configured, the final step is to test the camera to ensure it is functioning correctly. Pan, tilt, and zoom the camera to check the range and clarity of the footage. Make any necessary adjustments to the camera's position or settings to improve the quality of the feed.
In conclusion, installing a PTZ camera for maximum coverage requires careful planning and attention to detail. By following these step-by-step instructions, you can properly install a PTZ camera and take full advantage of its capabilities. Remember to choose a suitable location, mount the camera securely, connect it to power and a network, configure the settings, and test the camera to ensure it is working properly. With proper installation and maintenance, a PTZ camera can provide reliable surveillance and coverage for your home or business.